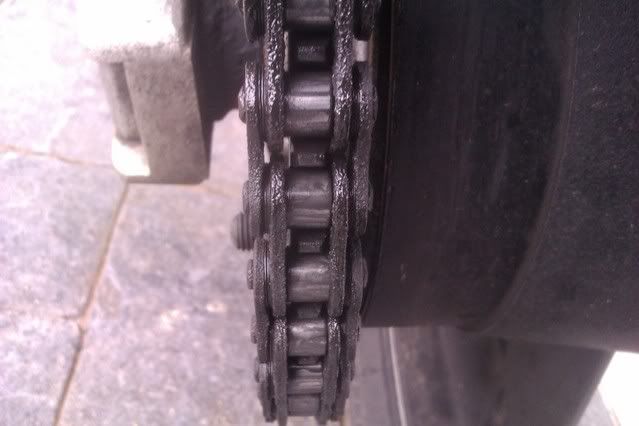
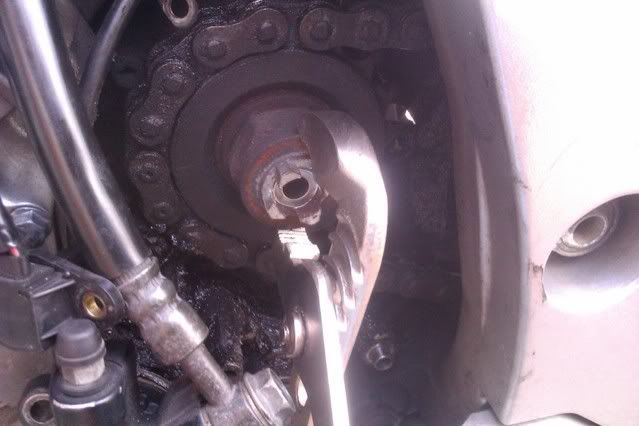
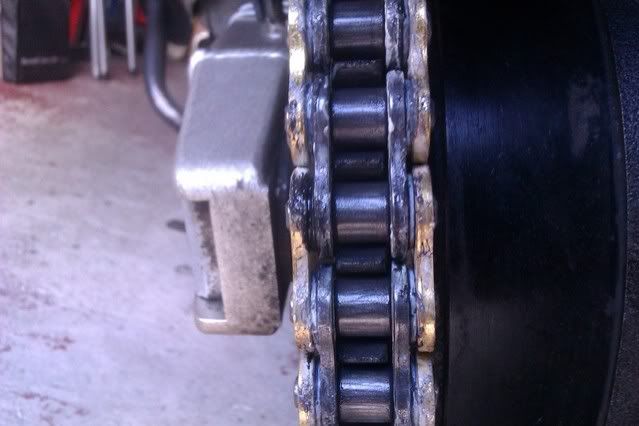
19) 530 Chain Conversion with Renthal Sprocket & ChainThe original configuration on the Vee is 17T front and 41T rear with a 525 112 link chain. This works just fine but on my bike, it left the rear sprocket slightly out of line. There are a couple of option to fix this but I decided to go for new parts as I needed a new chain and sprockets anyways. heres a picture of the before. The chain is about 2mm out and you can see the gap to the left side of the chain.
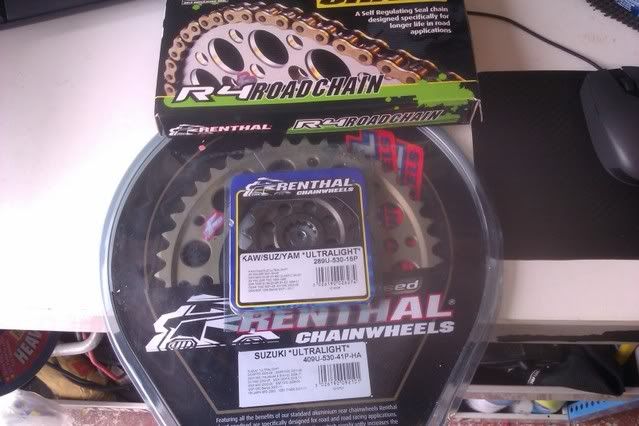
Here are the parts I bought.
Renthal Ultralight 16T Front(289U-530-16), Ultralight 41T Rear(409U-530-41HA) and Renthal R4SRS 530 Gold X Ring Superbike Chain (112 link)totaling £153.00 delivered from A&R Racing. I opted to go down 1 tooth on the front sprocket. If is want to go back to stock, then all I need is the 17T front, which is cheaper too.
Now I started doing a How To but then ran into a problem with the front sprocket retaining nut and couldn't get it off at home, so had to go to my mates garage, where I didn't bother taking any further pics till it was done. I didn't have the time and had to get it done asap.
Heres a couple of things to bear in mind, Depending on the type of chain you've bought, you may need a chain riveting tool to install it, like I did with my Renthal. Its also handy to have someone assist you with hold the bikes brakes while you undo some of the nuts before you remove the old chain..
Heres the ones you should break off before removing the chain.
1) Front sprocket nut
2) Rear axle nut
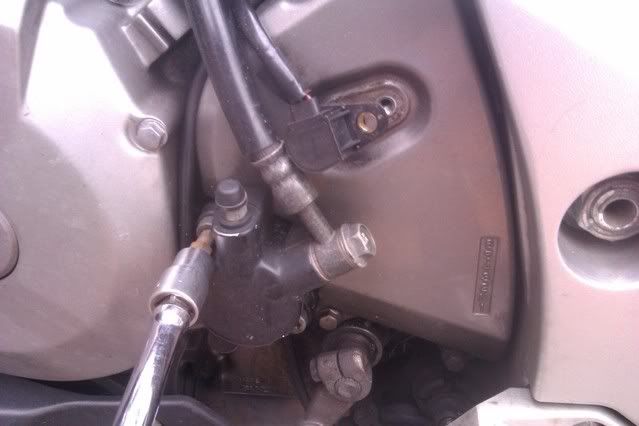
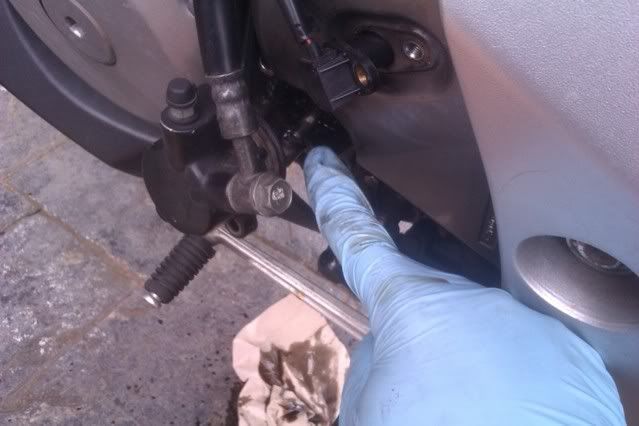
3) Rear sprocket bolts x5First undo the speed sensor from the side of the front sprocket cover. I think this was a 4mm allen key. Then undo the 2x 6mm allen heads hold the clutch slave cylider in place. (Note: the top slave cylinder bolt passes through an aluminium sleeve, you need to retrieve that later when the covers off if it doesn't come out with the bolt.
Using an old rag, I pulled the cylinder off.
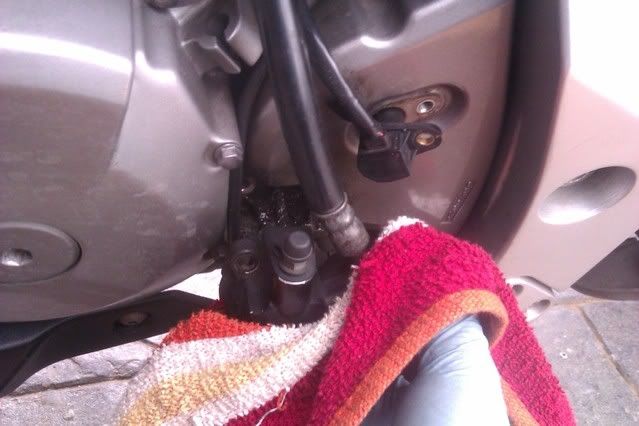
Careful not to pull out the push rod, cos if you do, the engine old will start coming out.
Next undo the 2x 8mm bolts from under the cover.
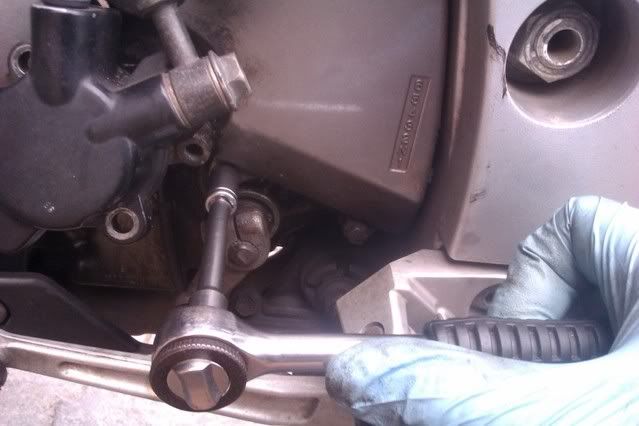
And also the 8mm bolt from the top of the cover.
After the cover is off, you may want to scrape and clean off all the crud from behind it and also in & around the front sprocket/engine casing.
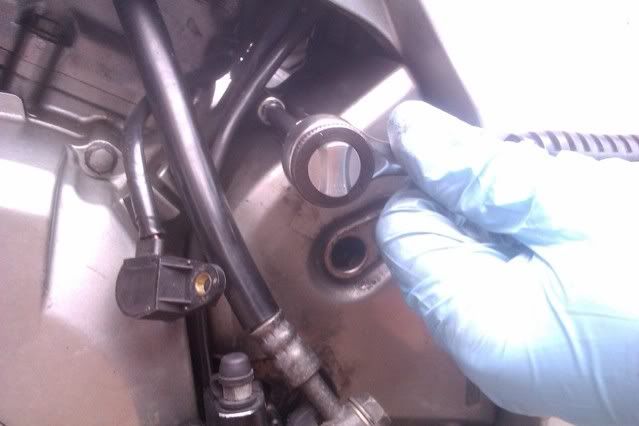
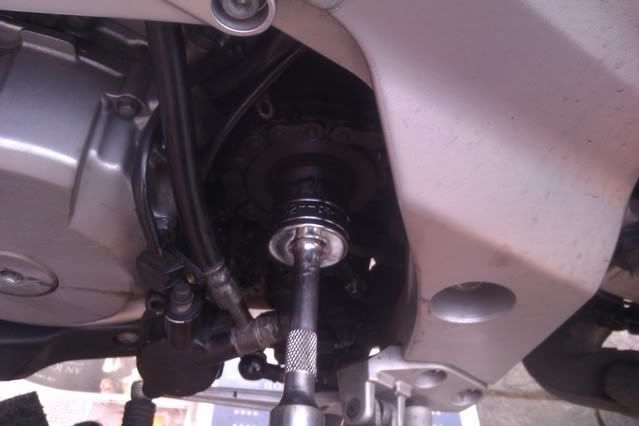
Now before the front sprocket can come off, you need to remove the speedo rotor. To do this, use an allen key and undo the centre bolt from the sprocket shaft. Get someone to help with hold down the front and rear brake to stop the bike moving.
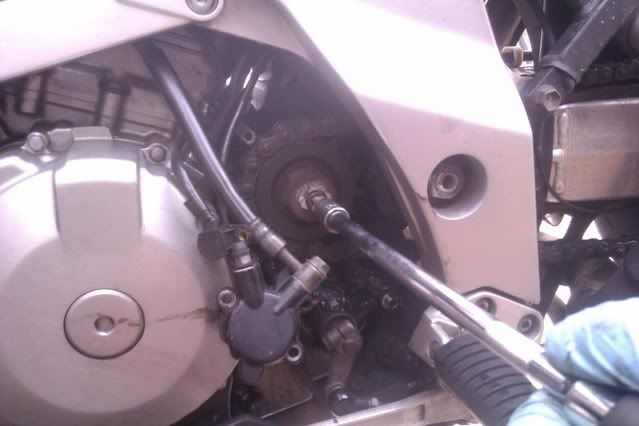
Now using a set of plumbers wrenches, gently grip the rotor top and bottom, wiggle it up & down and pull it off.
Now you can tackle the 32mm front sprocket nut. Mine was stuck solid and I had to use a windy gun. This is where the how to with pics ends.
Once the nut comes off, you simply swap the front sprocket over and it the reverse of above to refit it.
The rear sprocket is easy, Just remove the rear wheel, hub carrier and remove the rear sprocket via the 5x 14mm nuts. Chain wise, if you've bought the same chain as me, you'll need to use of a chain riveting tool. Just aswell I was in newcastle near to westgate hill!
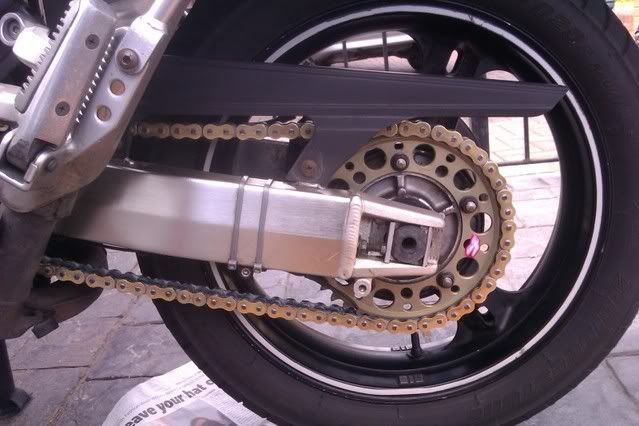
So anyways, heres the finished results.
Speedo wise, its off. Indicated 30 mph is more like 27, 70mph is more like 63 mph. Indicated ton is more like 85 mph! I'm going to work on poss a digital speedo, cos I find the Vee's hard to read on the move anyways.
