As the only bike on ST6 without some form of skid plate, I thought it was time I joined the majority. So I now have the
Barskoon Skid Plate from Outback Motortek.
Outback Motortek are a Canadian company, but their products are shipped from inside the EU so there are no customs bills to pay. The warehouse is in Hungary.
1. First Impressions/Unboxing Impressions
Arrived in a cardboard box, with all the contents individually bubble wrapped and then wrapped in corrugated cardboard. The box was in good shape when it arrived and there are no scratches or marks on the plate, brackets or any of the fixings. This was well packed.
2. Initial Setup/Installation
My first comment has to be the instructions. They are hopeless. Everything has been forced to fit on one double sided sheet of A4, to the point where it is compacted too much to actually make anything out on the photos. The photos are thumbnails at best. There are what I thought were arrows on the pictures pointing to things, but I couldn't make out what they were pointing too. Still this gave space for a whole pile of disclaimers to be fitted on the second page.
Fortunately, the website had a PDF of the instructions which was spread over three pages.
See here for those. The PDF shows that the blue arrows are actually a "Thread Locker" symbol, to act as a hint. Both the printed and PDF instructions have you looking for tools which you don't need.
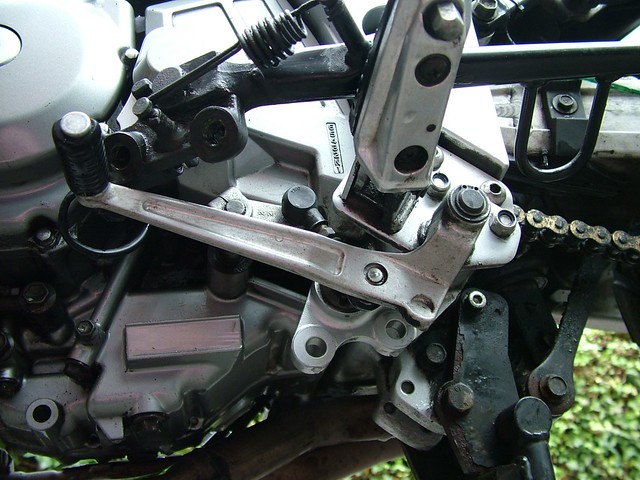
Installation took me a while as the two bolts that hold the side stand on (which are threaded in from the underside middle of the bike) were a bit of a sod to move. They had yellow threadlock on and a lot of chain muck similar to what you find under the front sprocket. This first stage took me 5 times longer than the rest of the install put together. I'm not the most mechnically minded member of this forum though.
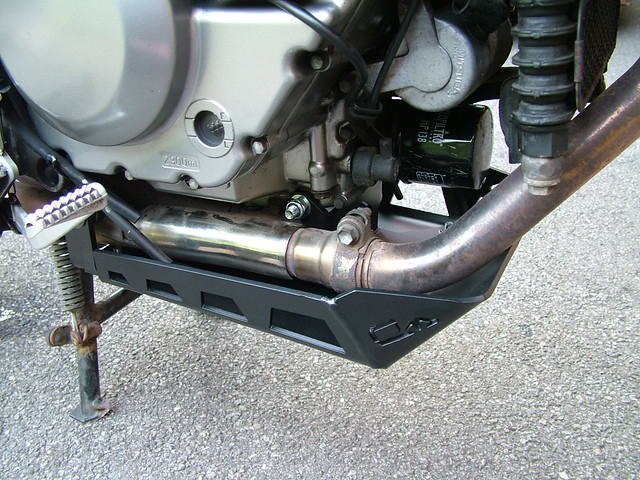
Here's a picture with the side stand removed. The side stand fixes into the two holes under the gear lever. The stand is still connected by the switch cable and is laying on top of the footpegs.
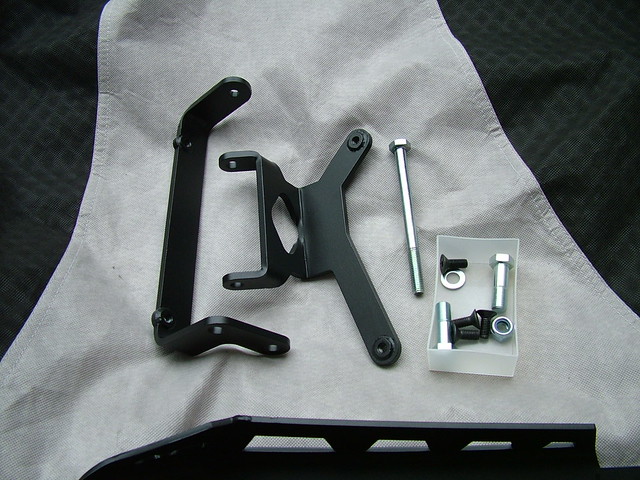
The bar shown below fits onto the exhaust hanger on this side of the bike and into the two sidestand holes on the other side. There are longer replacement side stand bolts to ensure the stand is still bolted on by the same length of thread as previously.

The front bracket goes on a long bolt right through a hole that is already there in the Engine casing, so that's easy, with nothing to remove first. The plate screws up from the underside through four bolts.
3. Real World Testing (how did it perform)
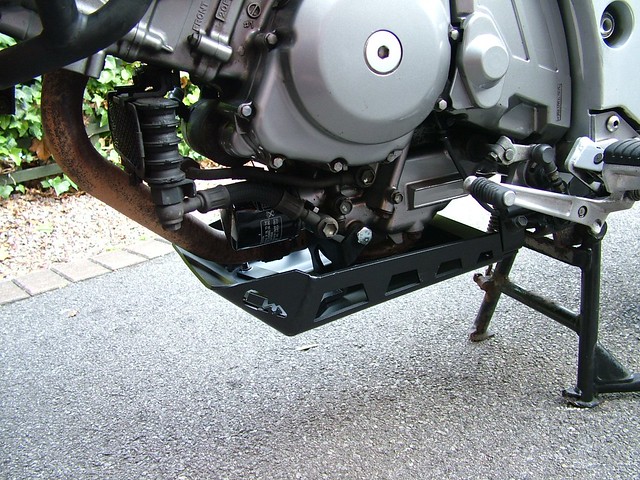
It will be a while before I can comment on this. I did take it down a byway tonight, but it was relatively flat and uneventful. I have clobbered the bottom of the bike down there before, just not today. It came home with some mud on and with a few leaves in it, so I tried.
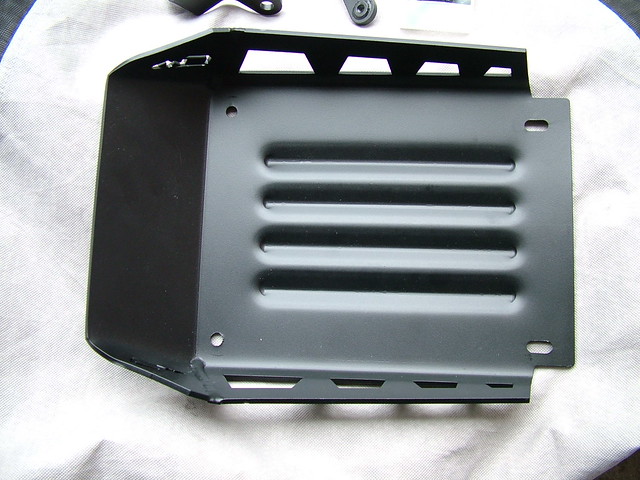
It's definitely solid, well made, with thick metal and M8 and M12 fittings.
The small size does mean that the oil filter will come out easily. I believe some skid plates fit specific engine bars too, but this one doesn't touch the bars, so can fit with any bars you may have.
4. Specs & Other noteworthy facts
4mm thick and powder coated. It's available in black and silver colours.
5. Tester's Opinion (summary)
It's solid and it covers all the fragile bits. I hope I don't have to test it too often.
6. Star Rating

Only three from me. It's smaller than many other available makes and although it's well built and strong, it just looks small (so minus one star). The other star is lost because of the hopeless instructions.
